A hidden camera comedy gag lives or dies on three things: the mark does not see the lens, the shot frames the reaction cleanly, and the audio is legible. If a mark spots a lens reflection or a taped-up cable, the bit is over. The money spent on the location and the actors is gone. You cannot ask a real person to repeat an honest reaction once they realize a lens is pointed at their chest.
Every venue presents distinct physical limits. Ceiling height, window direction, wall texture, and HVAC hum dictate your camera choices and disguise materials. Laws regarding recorded audio and hidden video vary across jurisdictions, with some regions requiring all parties to consent to audio capture. Check local recording statutes with a qualified entertainment lawyer before you put equipment into a public or semi-private room.
Camera dimensions and focal lengths for small spaces
A standard cinema body does not fit inside an electrical outlet box or behind a drop ceiling tile. Hidden camera setups rely on three physical form factors: board cameras, action cameras stripped of their outer plastic frames, and modular micro-cameras with detached sensor blocks connected to recording decks by ribbon cables. A detached sensor block measures roughly 20 millimeters by 20 millimeters. That small footprint lets you tuck the glass behind thin surfaces while keeping the heat-generating processor and battery two feet away.
Focal length determines how close the mark can sit to your disguise without falling out of frame. In a small office or an interrogation-style comedy bit where the mark sits four to six feet from a desk, an ultra-wide focal length between 2.1mm and 2.8mm gives you the coverage you need. An ultra-wide lens carries barrel distortion, which causes straight door frames to curve at the edges of your image. A 4mm to 6mm lens keeps lines straight and gives a natural facial perspective, but it requires at least eight feet of throw distance to hold two people in a medium shot.
Pinhole cone lenses narrow the front glass down to a tip measuring between 1.5 millimeters and 2 millimeters. The cone shape allows the lens to see a 90-degree field of view through an opening no larger than a standard drywall screw head. If you use a flat-front board lens instead of a cone lens, the disguise material must be paper-thin. Any wall thickness greater than one millimeter will cause physical vignetting, cutting off the corners of your frame with black circles.
| Focal Length |
Sensor Size |
Horizontal Angle of View |
Minimum Working Distance |
Typical Use Case |
| 2.1mm |
1/3 inch |
112 degrees |
2.5 feet |
Tight car interiors, elevator pranks |
| 2.8mm |
1/2.8 inch |
88 degrees |
4.0 feet |
Desk counters, small consultation rooms |
| 4.0mm |
1/2.8 inch |
67 degrees |
6.5 feet |
Waiting rooms, medium two-shots |
| 6.0mm |
1/2 inch |
46 degrees |
9.0 feet |
Punch-in reaction shots from across a room |
Lock your focus manually during setup. Auto-focus systems hunt when people move, and they will pull focus directly to the edge of your disguise cutout if the lighting changes. Set your lens to its hyperfocal distance, stop down to an aperture between f/4 and f/5.6 if your sensor allows it, and let depth of field keep your mark sharp from three feet to infinity.
Hiding housings inside standard room decor
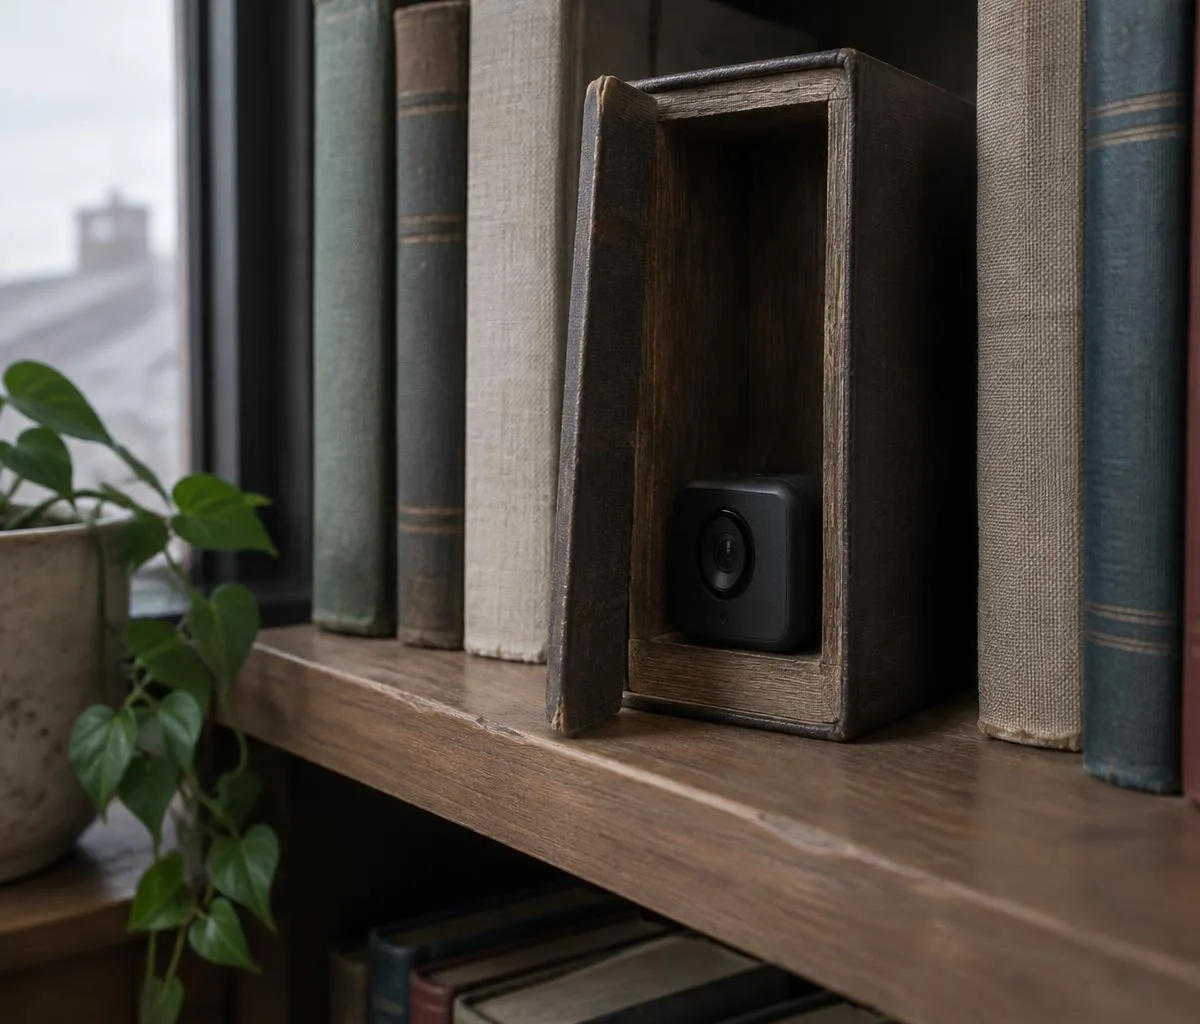
A disguise must belong in the room before the mark enters. If you drop a glossy black alarm clock onto a desk in an industrial kitchen, people will look directly at it. Match the object to the room function. In an office setting, tissue boxes, ring binders, hanging wall calendars, and network routers pass without a glance. In a residential living room, look at potted artificial plants, book stacks, utility thermostat covers, and framed art.
To prepare an object like a cardboard tissue box, reinforce the inside with foam core board. The core board stops the cardboard from warping when the camera warms up. Drill your pinhole through a dark patch of the printed exterior graphics. A 2-millimeter hole drilled through a navy blue or charcoal graphic line disappears entirely from three feet away. If the box has light graphics, the dark hole will look like an ink dot or an insect, which draws the eye.
Lens glare gives away more setups than the hole itself. Front lens elements are curved glass that reflects overhead fixtures. Cut a small ring of black matte felt or gaffer tape to surround the front element before pressing it against the rear of your pinhole. The felt kills interior housing reflections. Spray the interior cavity of your prop with ultra-flat black camouflage spray paint so that stray light bouncing around inside does not escape through seam gaps.
- Select a prop native to the target location.
- Measure the prop interior and cut rigid foam core to support the camera body.
- Mark the lens center on the prop face, targeting a dark area of the pattern.
- Drill a 2-millimeter pilot hole cleanly using a high-speed hobby bit.
- Line the rear of the faceplate with matte black felt around the opening.
- Seat the cone lens flush against the hole and secure it with hot glue or neutral-cure silicone.
- Route cables out the back or bottom through existing seams or cable grommets.
Boundary microphone placement for speech capture
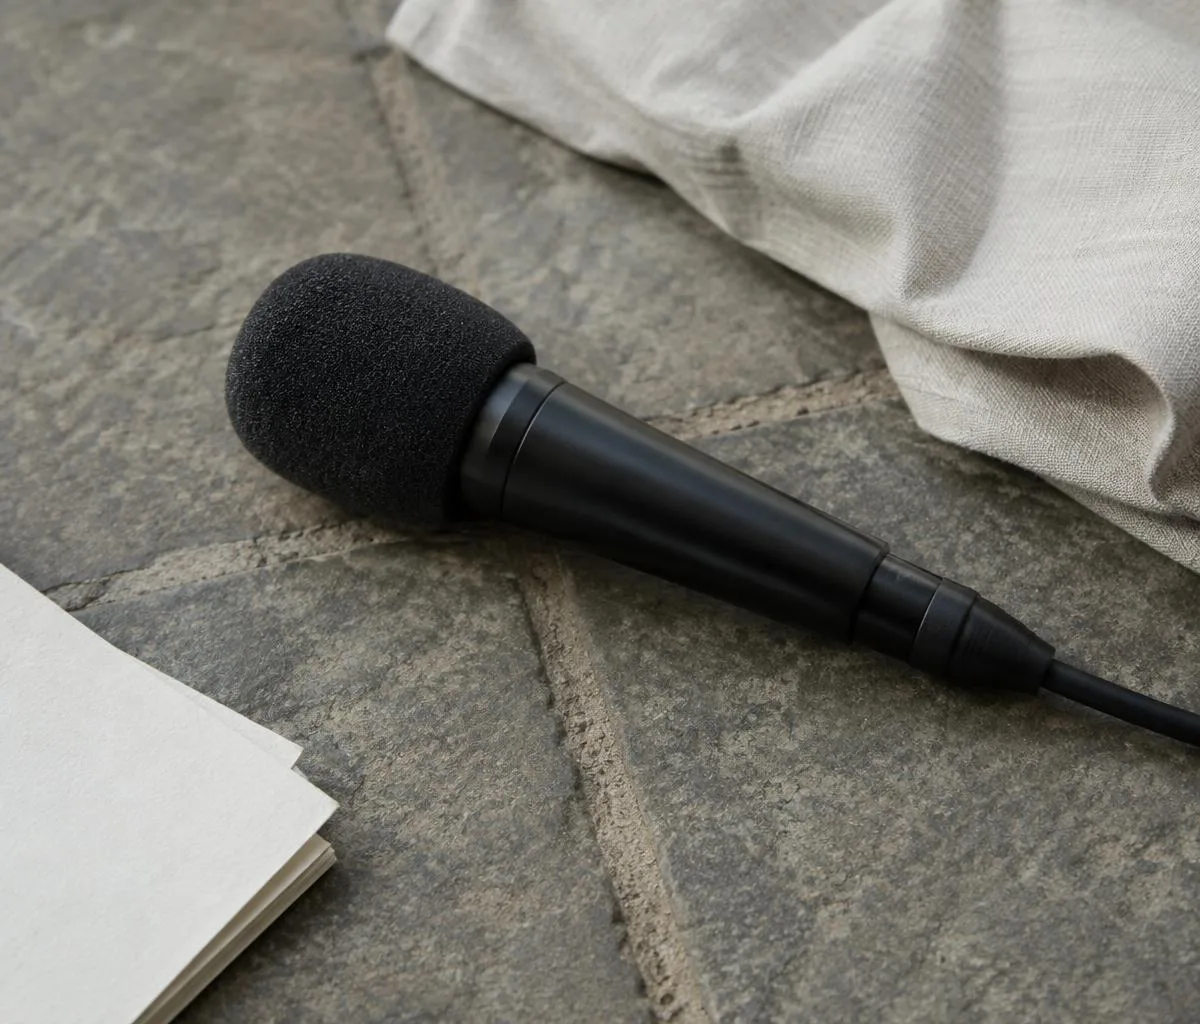
You cannot put a boom mic over a mark without revealing the production. Traditional shotgun microphones hidden inside ceiling air returns often produce muddy, hollow audio full of room reverberation. Boundary microphones, also called pressure zone microphones, solve this problem by sitting flush against a large flat boundary like a wall, floor, or tabletop. They capture direct sound waves and reflected waves at the exact same moment, eliminating phase cancellation and comb filtering.
Tape boundary microphones under the lip of the main counter or directly to the underside of a wooden conference table. If the tabletop is solid wood with a thickness under 30 millimeters, the wood acts as an acoustic transducer, allowing clean pickup through the furniture. For wall mounting, place boundary mics at chest height, roughly 4.5 feet off the ground, disguised behind an acoustic panel, a cork bulletin board, or a canvas painting. Canvas allows high-frequency consonants to pass through without attenuation, while glass-framed prints block everything above 1000 Hertz.
If you must use lavalier capsules, strip off their clips and attach them with silicone vampire mounts or moleskin tape to hard surfaces. Do not hide microphones near computer cooling fans, mini-fridges, or fluorescent light ballasts. Low-frequency electromagnetic hum from cheap ballasts will bleed into unshielded mic lines, ruining dialogue that cannot be recovered in post-production. Set an analog low-cut filter at 80 Hertz on your preamp to eliminate floor vibrations caused by footsteps.
Balancing ambient daylight against indoor lamps
Hidden cameras have small image sensors with limited dynamic range, usually between 9 and 11 stops. If your gag runs inside a room with a southern-facing exterior window, the sun will wash out the mark completely, or the background will blow out to solid white while your subject turns into a silhouette. You cannot change camera exposure during the take without drawing attention or ruining the grade.
Control the daylight first. Apply neutral-density film sheets to the outside or inside of window panes. A sheet of ND 0.6 cuts the incoming daylight by two stops without changing the color temperature. ND 0.9 cuts it by three stops. This brings the exterior light down closer to the output of your indoor lamps. Pull thin, neutral-colored window sheers across the glass to scatter the light into an even wash that does not cast harsh, moving shadows across the mark face as clouds pass.
Replace existing light bulbs in the room fixtures with high-CRI LED bulbs. Choose bulbs rated at 95 CRI or higher to prevent skin tones from looking green or magenta on cheap sensors. Match the color temperature across all sources. If you leave daylight entering the room at 5600 Kelvin, swap the 2700 Kelvin warm household bulbs in the desk lamps for 5000 Kelvin or 5600 Kelvin daylight-balanced bulbs. This allows you to set a fixed manual white balance on your camera, avoiding strange dual-color casts on the mark face.
Battery life and remote recording triggers
Internal camera batteries rarely last through a hidden comedy shoot. Setup happens hours before the mark arrives, and delays are common. An internal battery that runs for 45 minutes will die while your team waits for the mark to walk through the door. Strip the internal battery out if the camera allows it, and run the rig from external USB power banks or regulated AC-to-DC dummy battery adapters.
A standard 20,000-milliamp-hour power bank provides clean 5-volt power to a micro-camera for roughly 8 to 12 hours of continuous operation. Place the power bank outside the disguised housing if possible, as batteries generate heat during discharge. Heat inside a sealed prop like a fake book can trigger thermal camera shutdowns after 35 minutes of continuous rolling.
Relying on Wi-Fi smartphone apps to trigger recording through walls is risky. Venue walls containing metal studs, wire mesh, or concrete degrade 2.4-gigahertz and 5-gigahertz Wi-Fi signals within 15 feet. Use hardwired remote switches run via thin 2.5-millimeter LANC cables back to your control room, or install RF-based commercial triggers operating on 433-megahertz bands, which penetrate standard drywall and commercial masonry far better than high-frequency Wi-Fi. Always cover every status LED, tally light, and optical sensor on the camera body with two layers of black electrical tape before mounting the unit.
The most frequent error is neglecting depth of field when mounting behind small holes. If the pinhole edge is slightly out of focus, it softens the entire picture. Test the rig with a field monitor before locking the disguise.
Another regular failure point is auto-exposure hunting. When a mark wears a black jacket and steps in front of the lens, an auto-exposure system boosts gain, introducing heavy sensor noise and blowing out the room highlights. Always switch your camera to full manual exposure mode.
Cables running down wall surfaces give away setups immediately. Even a flat white wire running along a baseboard catches the eye of a bored person waiting in a room. Run wiring inside walls, behind hollow rubber floor runners, or disguised inside commercially available plastic raceways painted to match the baseboard trim exactly.
Start by scouting the target room with a handheld lux meter and a measuring tape. Measure the distance from the proposed camera locations to the chair or mark position. Note every light fixture in the room, the window orientation, and whether the floor is carpeted or hardwood, which dictates how much audio bounce you must manage.
Build your disguise units in your workshop before bringing them to the location. Assemble the prop, mount the camera, plug in the external battery, and let the entire system run continuously for three hours on your workbench. Check the unit every 30 minutes for heat buildup, lens fogging, battery drain, and memory card capacity. Solving an overheating issue on a workbench takes ten minutes; discovering it while a mark is walking up the hallway ruins the entire production day.
This material provides general entertainment ideas only: consult local statutes and property owners before filming or using props in public spaces. Disclaimer