Office humor works best when it leaves no trace on hardware. A successful desk gag causes three seconds of confusion, a brief laugh, and zero calls to the IT help desk. When alterations damage plastic tabs or leave sticky residue on lenses, the joke becomes a repair bill. Hardware safety determines whether an alteration belongs in an office or in the trash.
You can execute safe modifications using three tools: a roll of low-tack paper tape, a wire keycap puller, and standard operating system shortcuts. Every method described in this guide preserves factory warranties and protects switch mechanisms. You can reverse each gag in under two minutes without using chemical solvents or tools that scratch plastic.
Equipment boundaries and hardware safety rules
Do not touch company-owned laptops with integrated scissor switches. Scissor switches use interlocking plastic clips that measure less than one millimeter in thickness. Prying a keycap off a laptop keyboard snaps these retention lugs. Replacing a single broken scissor hinge often requires buying an entire upper deck assembly. Confine all keyboard alterations to standalone external mechanical keyboards.
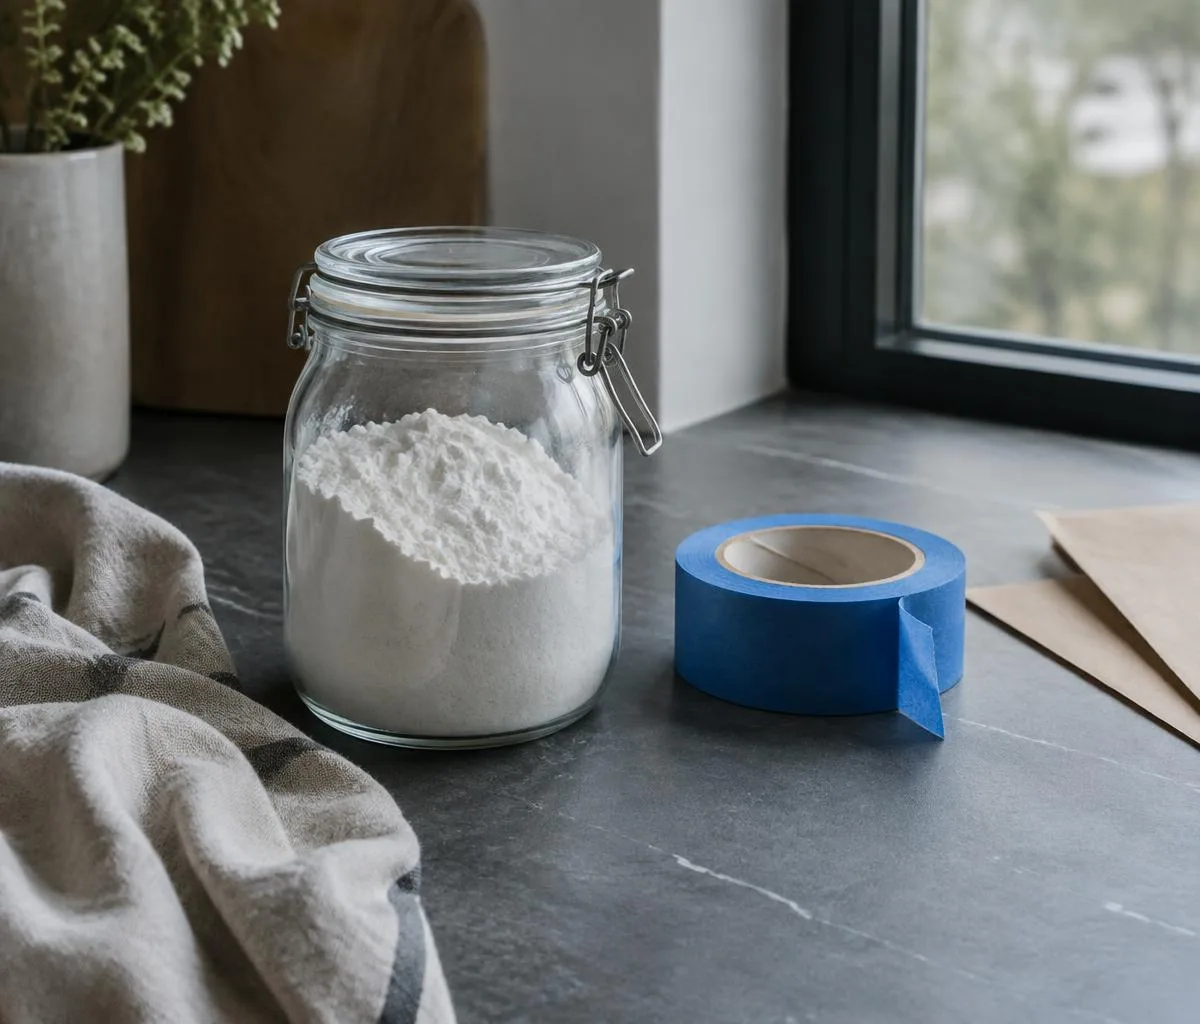
Avoid liquid adhesives, standard duct tape, packing tape, and cyanoacrylate glues. High-tack adhesives leave behind rubber-based gums that trap dust inside optical sensors. Cyanoacrylate outgasses as it support, leaving a white, permanent haze across optical lenses and polycarbonate cases. Low-tack blue painter tape is the only adhesive product acceptable for office equipment. It uses an acrylic adhesive that releases cleanly from textured ABS plastic and polycarbonate surfaces.
Never tamper with equipment tied to regulated data, emergency lines, or time-sensitive financial deadlines. If an employee handles payroll runs, accounting reconciliations, or client presentations, do not touch their desk. Equipment alterations belong strictly on secondary workstations, standard administrative desks during quiet hours, or personal equipment with implied consent between teammates.
| Hardware Component |
Approved Gag Method |
Prohibited Action |
Risk Factor |
| External Mechanical Keyboard |
Wire keycap puller swap of adjacent letter caps |
Using screwdrivers or knife blades to pry caps |
Broken switch stems, scratched ABS plastic |
| Laptop Built-in Keyboard |
None (software orientation only) |
Removing scissor-switch keycaps |
Snapped plastic hinges, broken membrane |
| Optical Mouse |
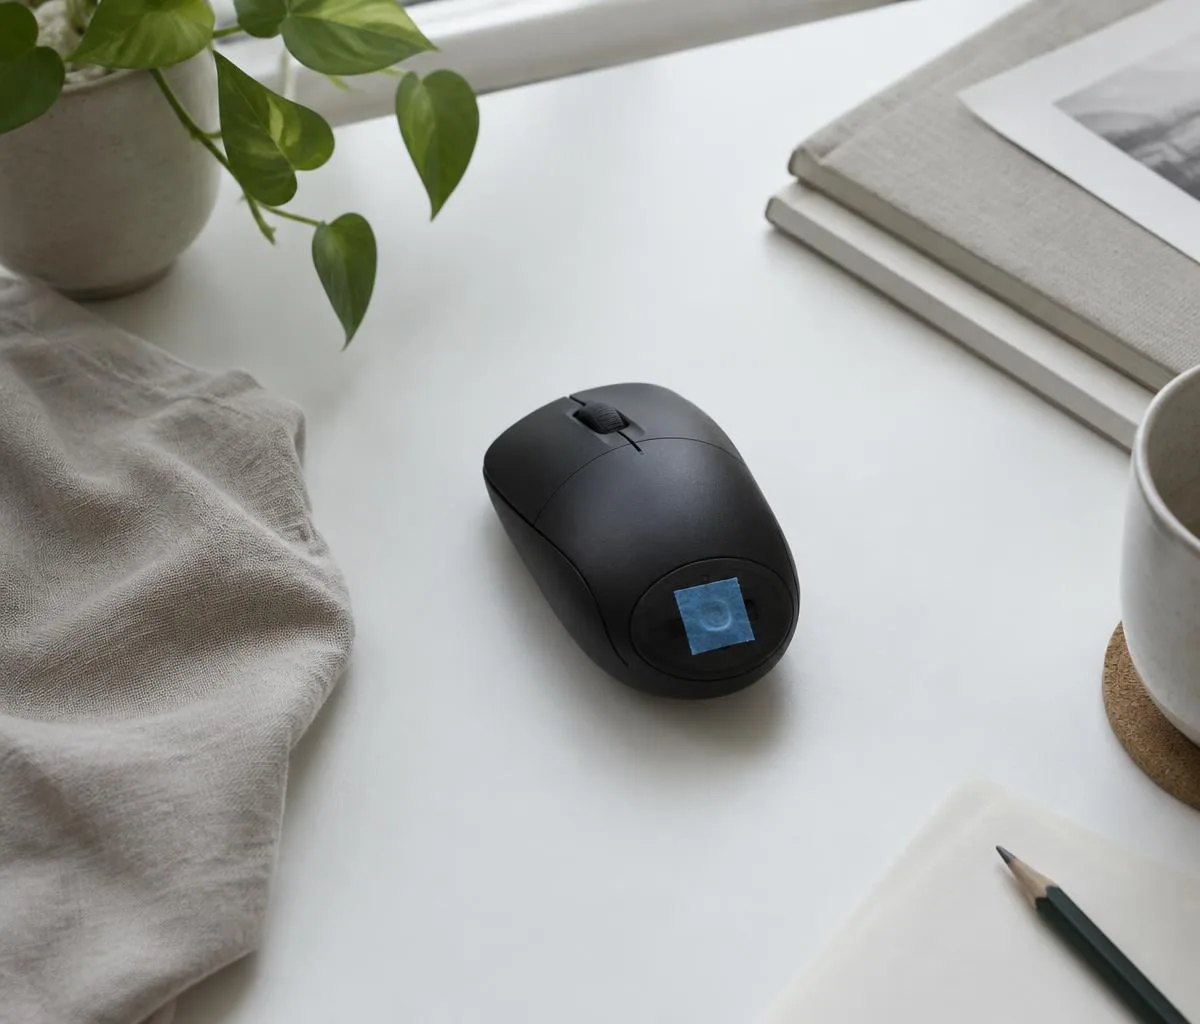
Blue painter tape over sensor cavity |
Clear tape, electrical tape, glue dots |
Solvent contamination, degraded lens focus |
| Computer Monitor |
Operating system display flip via keyboard |
Physical monitor bracket rotation without checking cables |
Pulled video ports, broken panel joints |
The optical sensor block with paper tape
An optical mouse tracks movement using an LED or infrared diode paired with a low-resolution CMOS camera sensor. The light illuminates the desk surface at an angle, and the sensor photographs microscopic surface imperfections at thousands of frames per second. If the sensor detects a uniform surface with no movement relative to the lens, the mouse pointer remains stationary.
Standard clear tape fails because the optical sensor can focus through transparent film and register the desk surface underneath. High-tack tapes leave glue on the focusing prism, which degrades tracking accuracy after the tape comes off. Low-tack blue painter tape blocks the light path completely, produces zero optical reflections, and pulls away without leaving adhesive deposits on the sensor rim.
Applying the sensor block
- Inspect the underside of the mouse to locate the sensor opening. This is the small circular or rectangular hole in the base plate.
- Tear a piece of blue painter tape measuring roughly 15 millimeters wide by 15 millimeters long.
- Write a short note or draw a small symbol on the non-adhesive paper side of the tape square.
- Center the tape square over the optical cavity. Press the tape down only on the flat plastic base plate surrounding the hole. Do not push the tape inward against the clear lens assembly.
- Place the mouse back on the mousepad. Test the mouse by moving it three inches. The cursor should remain completely static, while the primary and secondary click buttons function normally.
The victim will typically lift the mouse after three failed movements. The user expects a dead battery or a broken connection. Finding the small paper note on the base plate clarifies the situation immediately. To remove, grab the corner of the tape, pull horizontally across the surface at a 45-degree angle, and drop the scrap into the recycling bin.
Display rotation shortcuts by operating system
Software-based screen rotation changes the rendering orientation of the video card output. The operating system flips the image 90, 180, or 270 degrees while the physical monitor remains upright. The victim attempts to steer the mouse pointer, but the cursor moves along inverted axes. Moving the mouse upward sends the pointer downward, creating spatial disorientation.
This modification requires zero physical contact with cables or display hardware. It avoids straining monitor arm mounts, breaking display panel bezels, or yanking power cords out of wall sockets. The modification takes five seconds to apply and three seconds to clear once you know the exact key combinations for the host operating system.
| Operating System |
Direct Shortcut Combination |
Manual Settings Path |
| Windows 10 / 11 (Intel Graphics) |
Ctrl + Alt + Down Arrow |
Settings > System > Display > Display Orientation > Landscape (flipped) |
| macOS (External Displays) |
None (Requires System Settings menu) |
System Settings > Displays > Rotation Dropdown > 180 degrees |
| ChromeOS |
Ctrl + Shift + Refresh (F3) |
Settings > Device > Displays > Orientation dropdown |
On modern Windows installations, graphics drivers from AMD and Nvidia disable universal hotkeys by default. If the direct hotkey does not flip the screen, right-click an empty space on the desktop, select Display Settings, scroll down to the Display Orientation drop-down menu, and select Landscape (flipped). Windows will display a fifteen-second confirmation dialog. Click the Keep Changes button immediately, or the screen reverts to normal automatically.
On ChromeOS devices, the shortcut cycles the screen orientation 90 degrees with every press. Pressing the combination two times flips the display 180 degrees. Pressing it two more times returns the screen to standard orientation. When executing this on any machine, ensure you stay at the desk until the target returns, or prepare to reverse the shortcut if the person has an urgent call scheduled.
Mechanical keyboard cap swaps on harmless keys
Mechanical keyboards feature individual switches under every keycap. These switches typically use cross-shaped stems known as Cherry MX style mounts. Kailh, Gateron, and Outemu switches share this identical cross profile. Keycaps sit on these stems via friction. Swapping keys changes the visual layout without modifying the firmware or the internal contact leaves of the switch.
Only swap keys that share the exact same row profile. Keyboard keycaps have distinct slants depending on their row position, a design feature called the OEM or Cherry profile. Keys in Row 2 (the home row containing A through L) feature a neutral, slightly concave angle. Keys in Row 1 (the bottom letter row containing Z through M) tilt upward. Swapping a bottom-row key with a top-row key leaves an uneven physical ridge that reveals the swap before the victim touches the board.
Selecting the target keys
Never alter the F and J keys. These two keys feature raised horizontal bars or deep dishes that touch typists rely on for home-row positioning. Altering them disrupts blind typing and causes frustration rather than humor. Instead, target adjacent letters that share the same row height and similar letter shapes.
- M and N: Both share the bottom row (Row 1). The caps have identical angles, and the letterforms look similar at a glance.
- O and P: Both reside on the top letter row (Row 3). Typists glance down and miss the swap because the characters sit right next to each other.
- Colon and Semicolon with adjacent punctuation: Punctuation swaps cause confusion for programmers and data entry staff without stopping general prose typing.
Removing and replacing the keycaps
- Take a wire keycap puller. Avoid plastic ring pullers, because the rigid plastic jaws can scratch the sidewalls of custom keycaps.
- Lower the two wire loops over the target key until the wires slip under the bottom edges of the keycap.
- Rotate the puller 45 degrees so the wires grip the diagonal corners of the cap.
- Hold the keyboard down flat against the desk with your free hand. Pull the tool straight up with firm, steady vertical force. Do not pull at an angle, or you can bend the metal switch stem or crack the keycap mount.
- Repeat the extraction process on the adjacent target key.
- Place each keycap onto the opposite switch stem. Check the orientation so the letter sits upright.
- Press down firmly on the center of the keycap using your thumb until the cap seats completely against the switch housing. The height must match the surrounding keys.
The sixty-second restoration routine
Every desk modification must be fully reversible within sixty seconds. When a manager approaches the desk with an unexpected priority, or when a coworker expresses genuine distress, clear the alteration instantly. Never leave a coworker struggling to figure out a technical problem during active business operations.
Carry a small restoration kit in your pocket before executing any physical change. The kit requires two items: a wire keycap puller and a dry microfiber cloth. If you placed tape on a mouse, keep your fingernails trimmed so you can catch the edge of the tape cleanly without needing a utility blade near company hardware.
Executing the rapid reset
- Reset the screen: Reach past the chair, hit the keyboard shortcut (Ctrl + Alt + Up Arrow on Windows, or Ctrl + Shift + Refresh twice on ChromeOS). If shortcuts fail, use the mouse to right-click the desktop, open Display Settings, and switch orientation back to Landscape.
- Clear the mouse: Pick up the mouse, flick the corner of the blue tape with your thumb, pull the strip off, and stick it to your wrist. Test tracking against the mousepad for two seconds to verify normal movement.
- Swap the keycaps: Lower the wire puller onto the first swapped key, pull upward, set the cap on the desk. Pull the second key. Press both caps back into their original switch locations. Check the home row visually to confirm standard QWERTY alignment.
Once the restoration routine finishes, apologize briefly and offer to buy the victim a coffee. A gag ends the moment the equipment returns to factory operation. If a user feels uncomfortable with hardware modifications, write their desk off your list permanently.
The most frequent mistake involves using the wrong adhesive tape on optical mice. Clear office tape, electrical tape, and brown packaging tape contain rubber resins that melt under the mild heat generated by optical mouse LEDs. Within twenty minutes, the resin transfers to the clear plastic prism. Once coated in resin, the sensor requires cleaning with 70 percent isopropyl alcohol on a lint-free swab to restore normal tracking.
Another error is attempting keycap swaps on rubber dome membrane boards without mechanical stems. Many budget office keyboards look like mechanical boards but use membrane sliders encased in snap-fit plastic frames. Forcing a wire puller under these keys snaps the plastic retention clips permanently. If you cannot identify the switch manufacturer (such as Cherry, Gateron, or Outemu) through the keycap gap, do not attempt to pull the cap.
Coworkers also make the mistake of altering software credentials, changing language inputs, or messing with operating system display scaling. Setting an operating system language to a non-Latin script like Greek or Japanese can lock a user out entirely, requiring IT intervention to navigate the settings menus. Keep all modifications physical or limited to single-key display flips.
Before modifying any desk setup, spend thirty seconds surveying the target hardware. Check the mouse base plate to ensure the sensor cavity is clean and accessible. Look at the keyboard branding: check for an external mechanical keyboard with individual switch housings visible beneath the keycaps. Confirm the victim runs an operating system with known hotkeys.
Assemble your desk kit in advance. Keep a 10-meter roll of blue painter tape in your desk drawer, along with a standard stainless steel wire puller. Test the screen orientation hotkeys on your own workstation first to confirm the display adapter supports shortcut rotation. If your machine does not support the shortcut, assume the target machine will require manual menu navigation, and budget your time accordingly.
Finally, know your office environment. Safe gags build camaraderie only when hardware remains intact and work goes uninterrupted. If there is any doubt about the target employee's workload, upcoming deadlines, or tolerance for practical jokes, leave the peripherals alone.
This material provides general entertainment ideas only: consult local statutes and property owners before filming or using props in public spaces. Disclaimer